


Want to become an Android developer or start your journey with Android development but have not started yet?
Let me help you create your first Android app to kick off your Android journey. Work with me to the end of the blog
First, download Android Studio on your PC through this link and complete the setup and wait for all indexing and initial build to finish (might take time so keep patience)
Download Android Studio and SDK tools
developer.android.com/studio
Let's begin
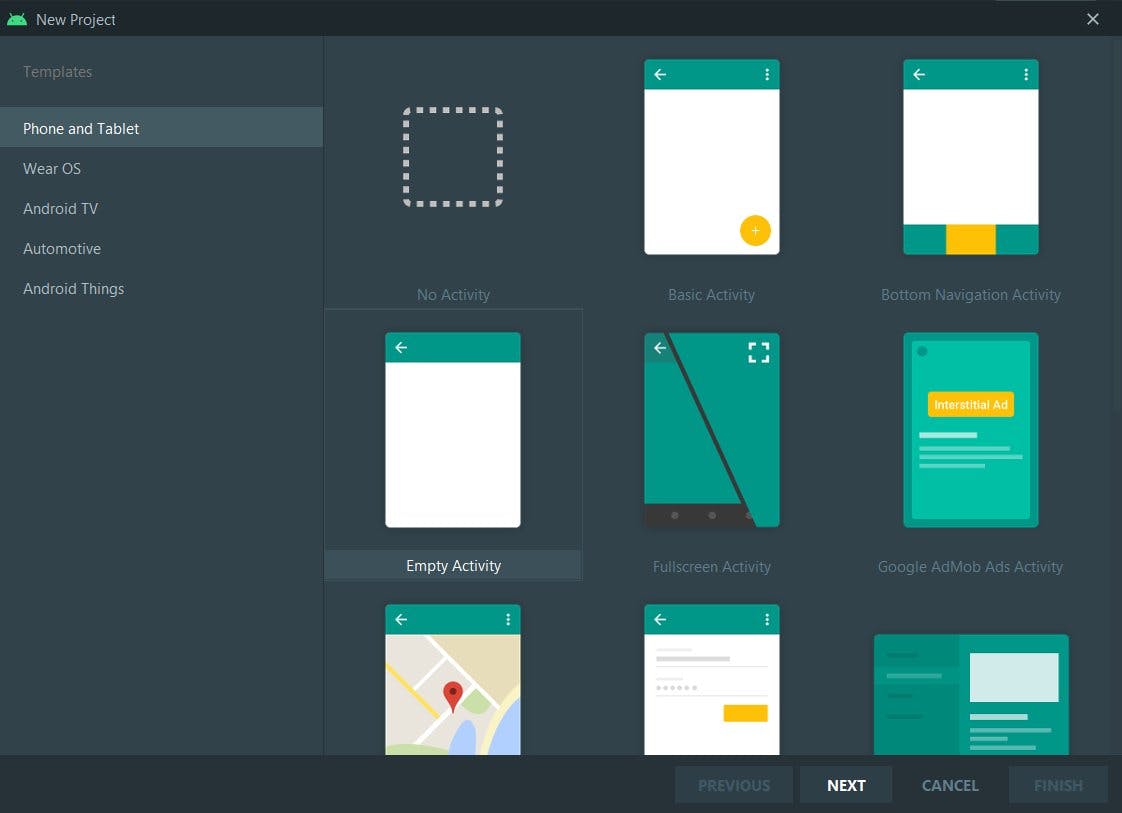
🔸Click on create new Project
🔸Select Empty Activity
🔸Click on next
🔸Give a name to your app. We are going to create a simple converter app so naming it MyConverter
🔸Select the package name, project location, and minimum SDK
🔸Click on Finish
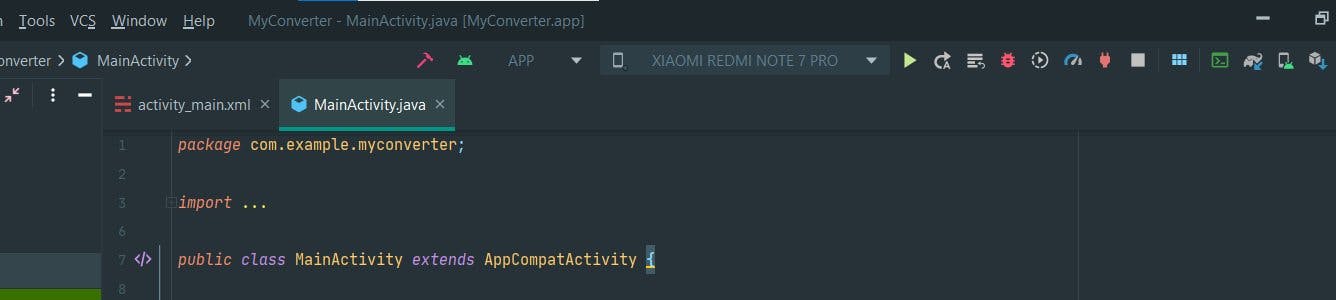
🔸Wait for Gradle build and indexing to finish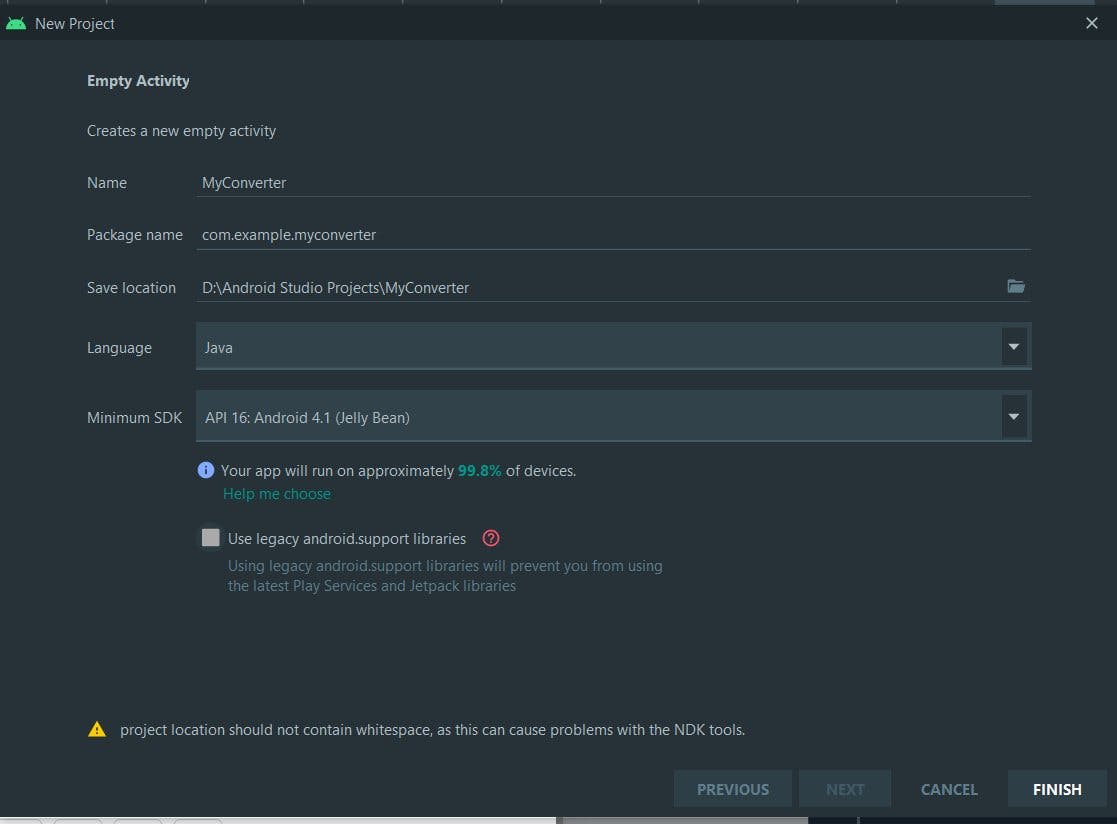
Ok, we will test our app on our own mobile phone.
For that, you need to enable USB debugging on your phone.
🔸Open settings
🔸Select the About Phone/System
🔸Go to the build number/build version and tap on it 7 times.
🔸You are now a developer
🔸Return to the previous screen and tap on developer options
🔸In the Developer options window, scroll down to find and enable USB debugging.
🔸Connect your PC with your mobile phone through USB (select file transfer mode)
You could now see your device listed at top of your Android studio screen like this -
Click on the Run app (green one at the top near your device name) to install your app on your device.
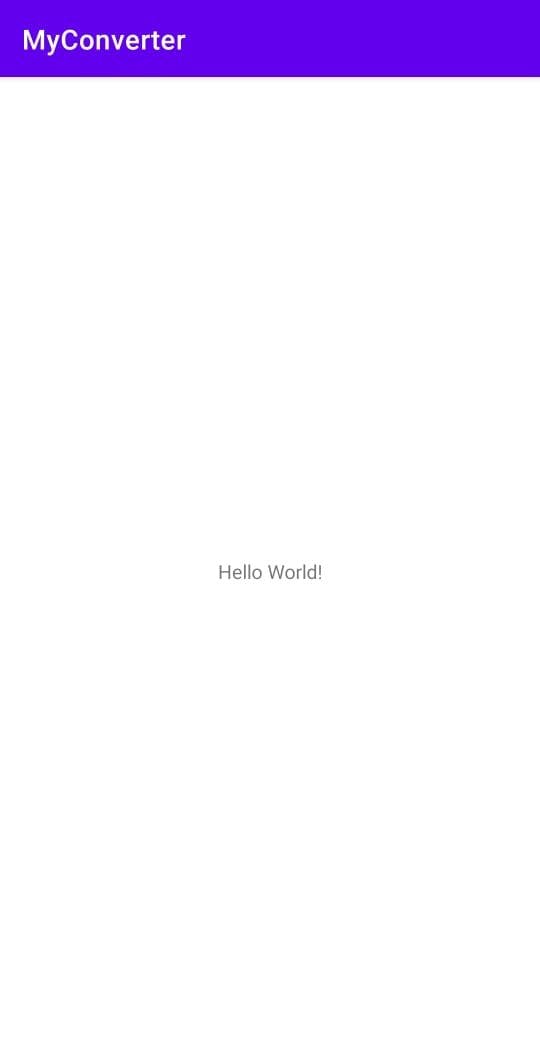
Your app gets downloaded and the hello world screen appears on your screen now. Your app is successfully visible on your device now.
This is how it looks-
Now we will start the process of creating your first Android app.
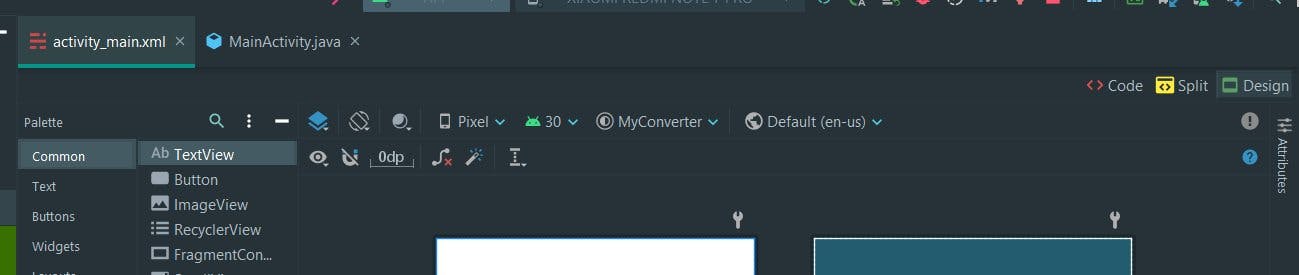
Go to activity_main.xml and you could see three things
- Code tab
- Split tab
- Design tab
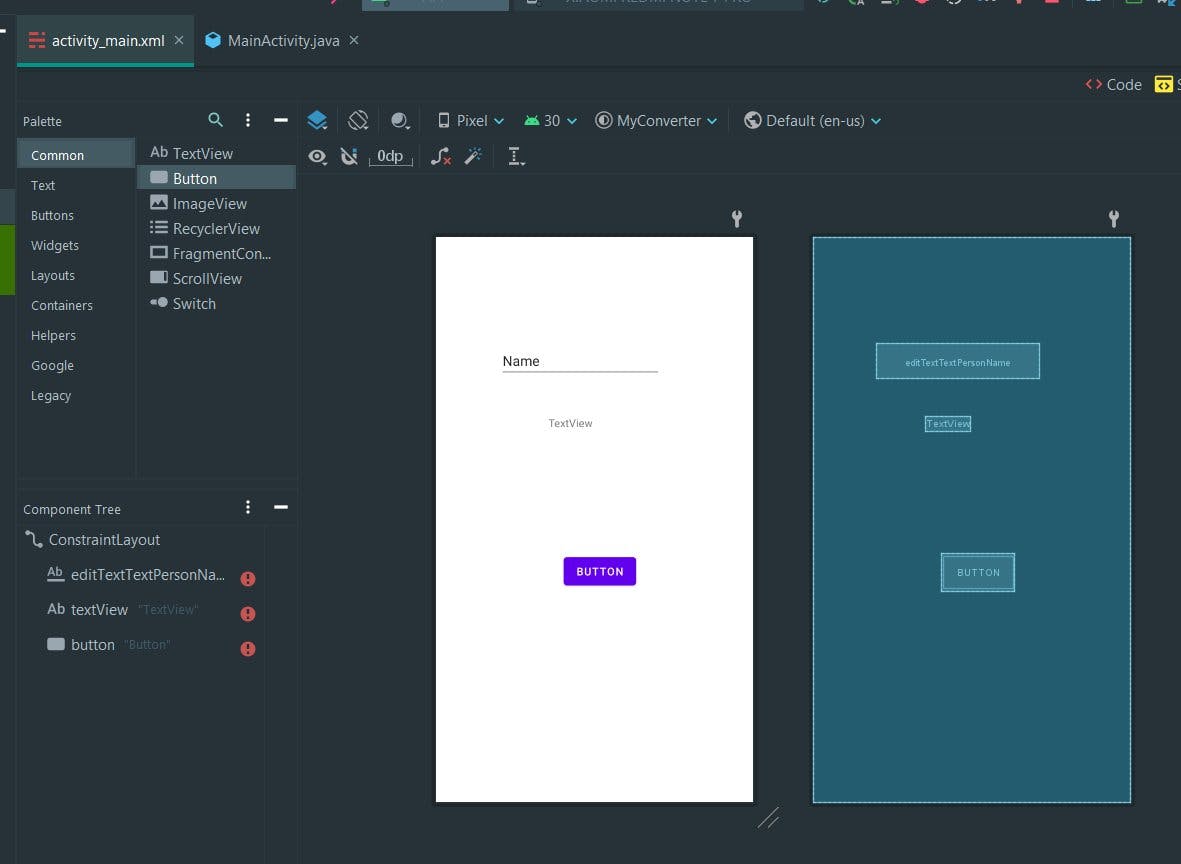
🔸In the design tab, right-click on hello world and click delete to clear the layout.
🔸 You can see the palette on the left. Search for "Plain Text" and drag it to the screen
🔸Also search for "Text View" and drag it to the screen
🔸Also search for "Button" and drag it to the screen
You might have created up to this
🔸Constraint these views horizontally and vertically in the screen as you want
🔸Now we will add attributes to these views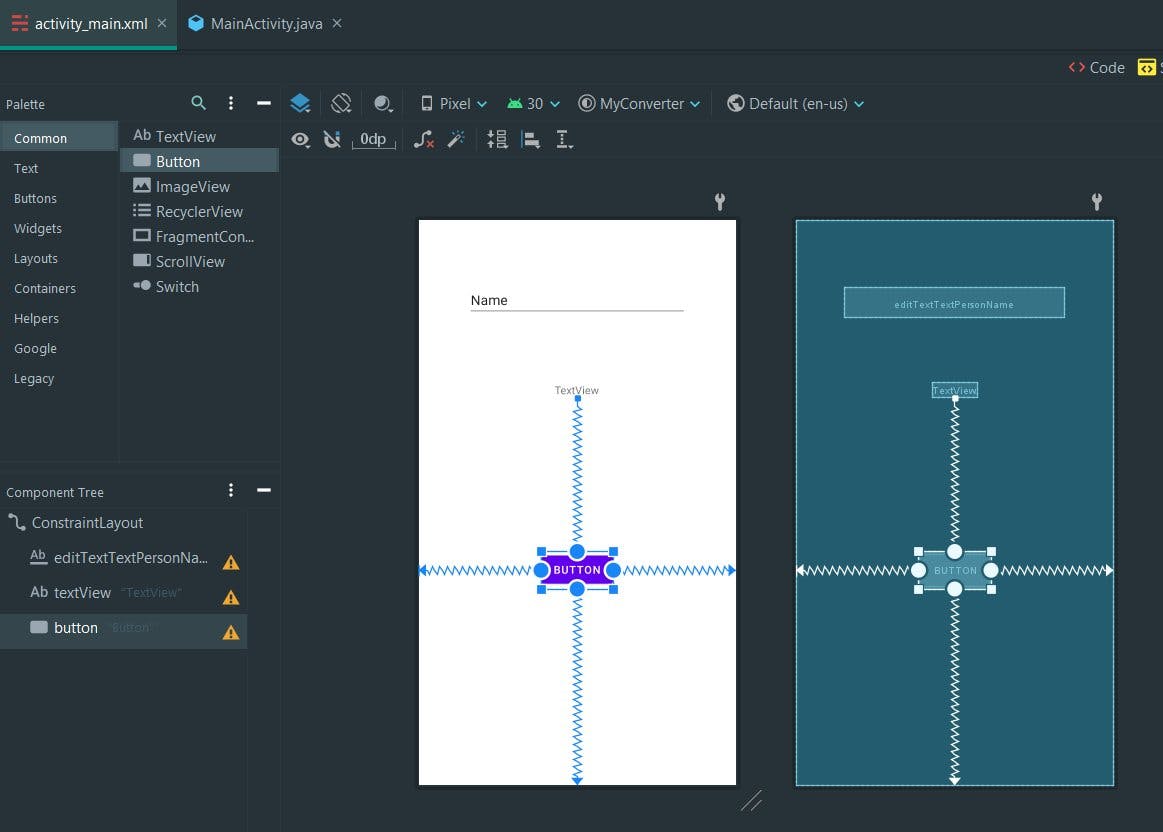
🔸Click on any view on the Component Tree visible in the left and click on "Attributes" in the right
Like this -
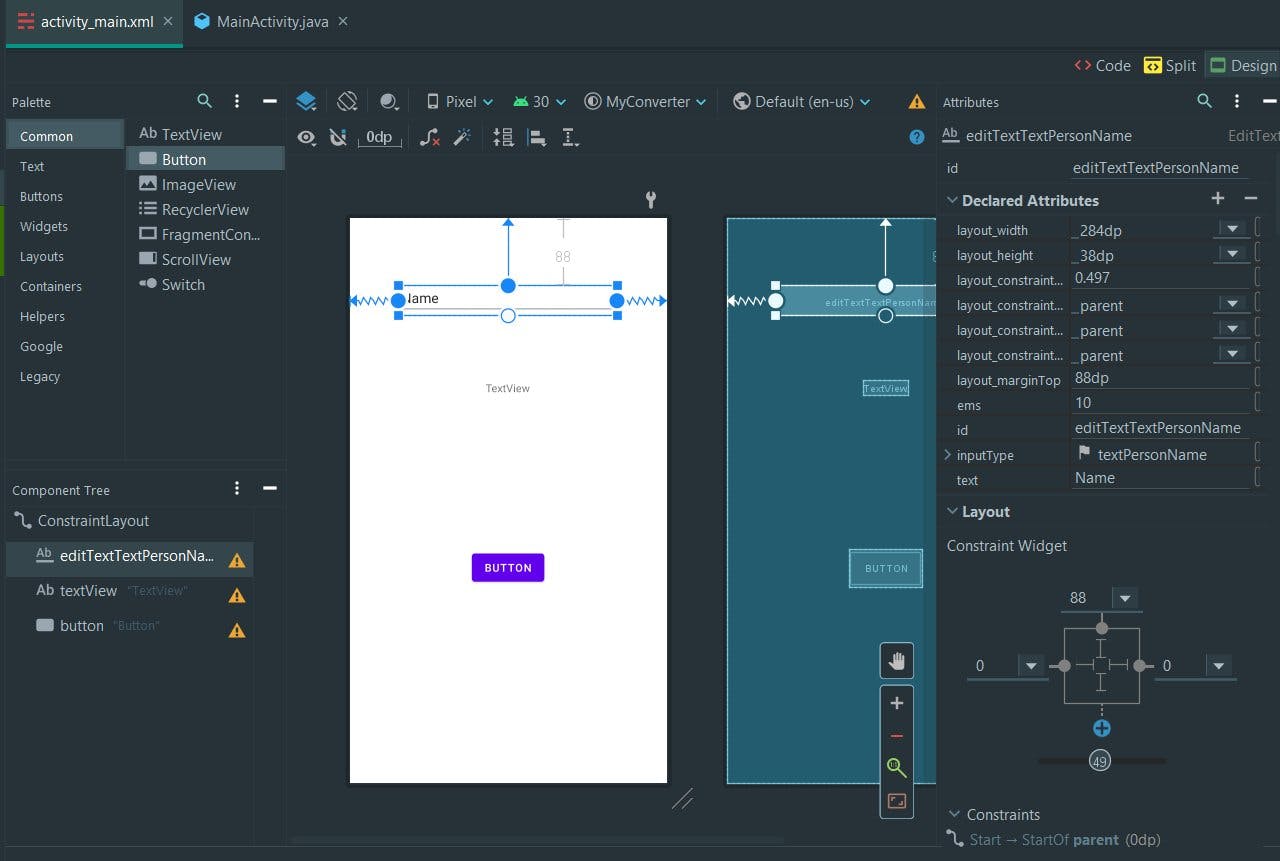
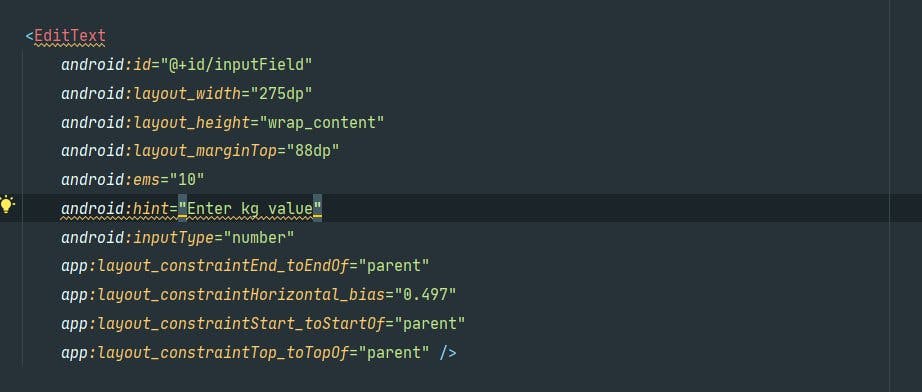
Now give the following attributes for the first view (EditText) -
🔸id - inputField
🔸layout_width - 275dp
🔸layout_height - wrap_content
🔸text - none (remove name from it)
🔸hint - Enter kg value
🔸inputType - number
The XML (from the design tab) for this looks like this -
Now give the following attributes for the second view (TextView) -
🔸id - gramValue
🔸layout_width - wrap_content
🔸layout_height - wrap_content
🔸text - none (remove TextView from it)
🔸textSize - 16sp
The XML (from the design tab) for this looks like this -

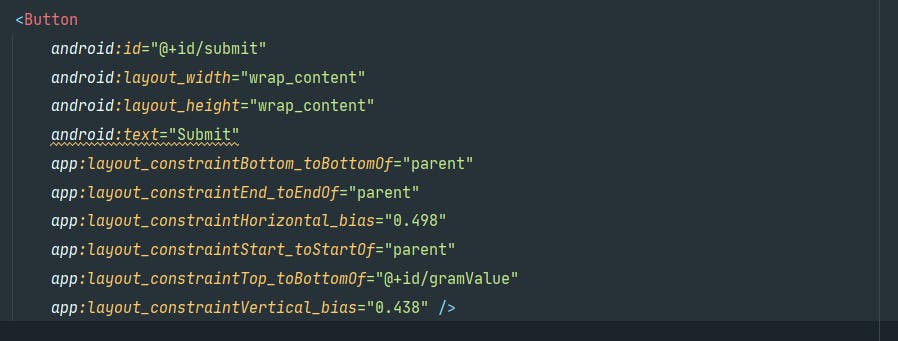
Now give the following attributes for the third view (Button) -
🔸id - submit
🔸text - Submit
The XML (from the design tab) for this looks like this -
Now the frontend for our app i.e design has been done. Now we will write some java code for the app to function.
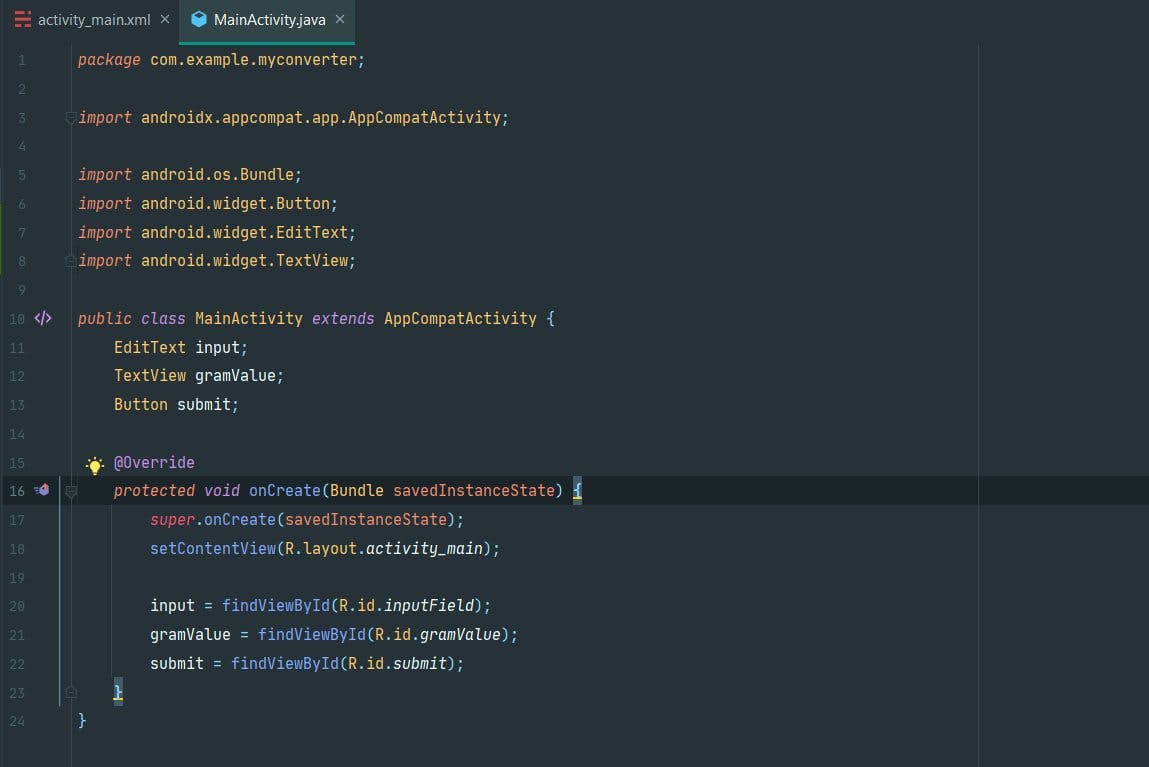
First, we need to bring all our views in our Java file.
For this, we create variables of view and use findViewById
Look at the following code -
Now we set action on click on submit button. We also check whether the input field is empty or not.
To convert kg into grams multiply that by 1000
Set this grams value as text to the second view (TextView)
The code looks like this -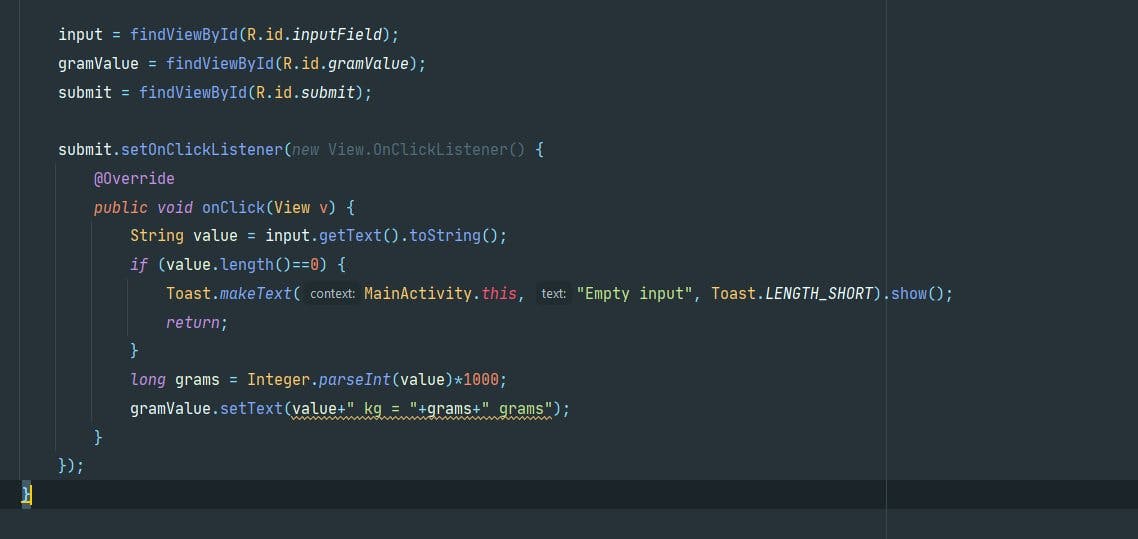
Now you can run the application and check this.
This is what you have made -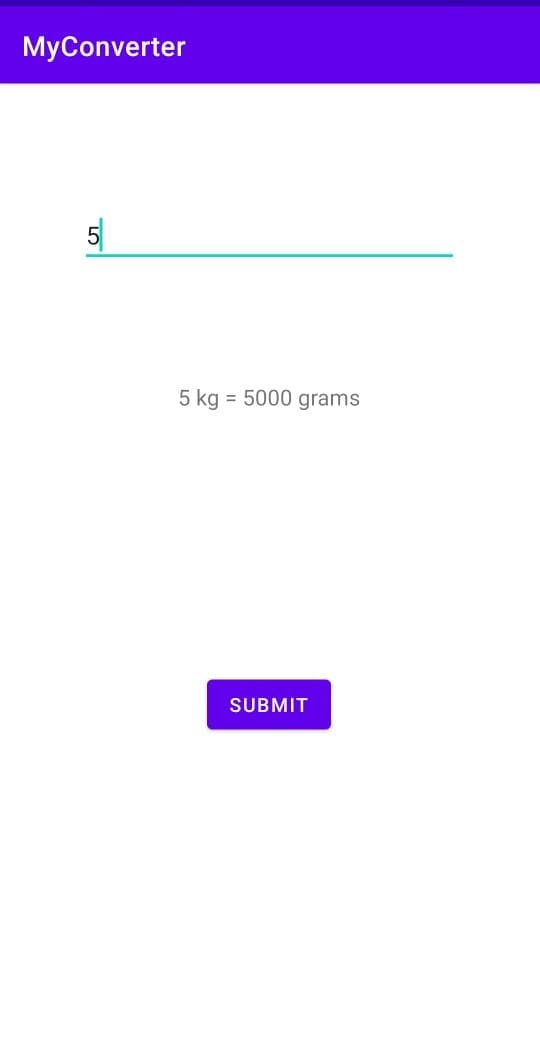
Hurray
You have successfully made your first app. Now you can edit this app according to your needs and start making many other apps.
Good luck with your Android journey.